Español
 Русский
 Tiếng Việt
 中文
中文 suomi
suomi Français
 Português
 English
 Deutsch
 Français
 Español
 Italiano
 Português
 Pусский
What should be considered when installing an industrial chiller unit? Will incorrect installation lead to serious consequences? Decent will guide you through the installation process of a chiller unit.
The installation of a chiller unit is relatively simple, but attention must be paid to details such as water and electricity connections, as well as long-term maintenance and use. The following points can be referred to:
Before continuing, it’s important to know the following precautions:
1. Choose an installation location.
For air-cooled chiller units, we need a well-ventilated open space. Ensure that there are no obstacles or walls within a 1-meter radius, otherwise, it will hinder air circulation and make it difficult to dissipate heat. The key is to ensure that the heat discharged by the chiller unit can be moved outside, rather than circulating in a small space. The distance between the blocker also ensures maintenance space. When installing an air-cooled chiller unit in a poorly ventilated space, it is necessary to consider installing an air duct near the condenser fan at the top of the chiller unit to ensure heat dissipation.
For water-cooled chillers, we only need to reserve sufficient maintenance space, as the heat from the cooler is transferred to the cooling tower through water.
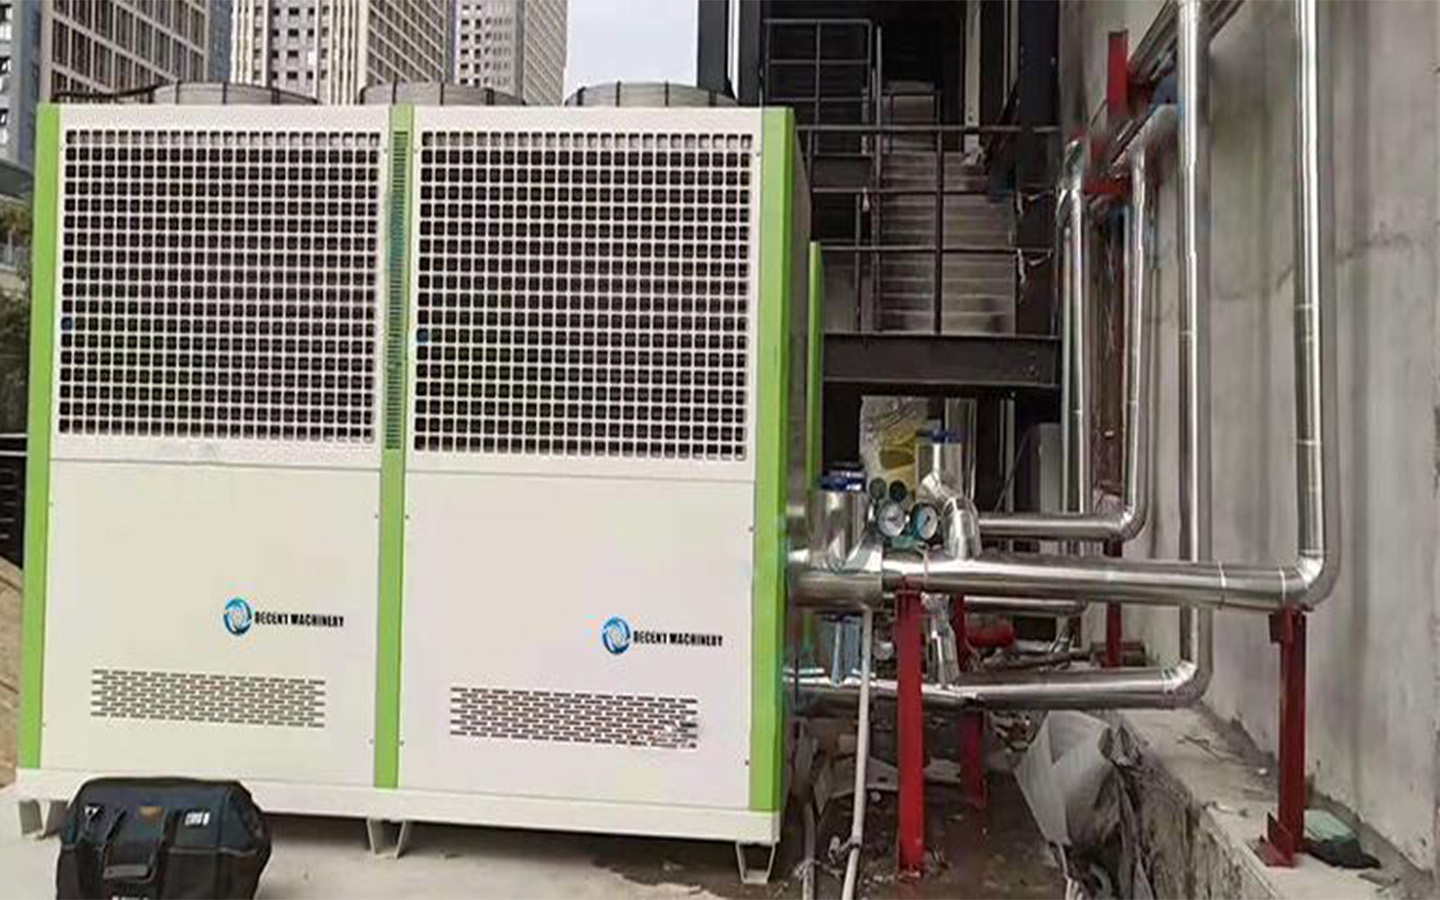
2. Ground preparation for placing the chiller unit.
An industrial chiller unit must be placed on a sturdy and level concrete floor to support its weight. The floor’s flatness should be less than 6 millimeters. The chiller unit will vibrate during operation, and if the floor is not firm or level, the unit can easily move, especially for portable chiller units with wheels. Prolonged vibration of the chiller unit can lead to serious malfunctions.
For large-scale chiller units, a concrete foundation needs to be established for them. The area around the foundation needs to be filled with sand or asphalt to absorb gaps measuring 50-100 millimeters. The foundation should have bolt holes to secure the chiller unit base to the concrete foundation.
Once the above preparations have been completed, the chiller unit can be placed on the foundation. Then, a spirit level is needed to check if it is leveled. If not, adjustments can be made by placing shims between the chiller unit base and the concrete foundation.
3. Prepare piping and wiring.
The chiller unit specifications sheet includes the equipment’s connection sizes and maximum ampere ratings. Choose the correct pipes and wires accordingly.
4. Install a filter at the chiller unit’s inlet.
If you are not confident in the water quality of the facility, it is necessary to do some filtration to prevent water circuit failures in the cooler. It is recommended to use a Y-type filter. For water-cooled chiller units, it is crucial to install a filter at the condenser inlet, as most of the water in the cooling tower contains impurities. You can choose an appropriate filtration system based on your specific situation.
5. Properly pipe according to the guidance provided by the chiller unit.
Make sure you know which ports to connect. Each chiller unit’s inlet and outlet will be labeled, so check them carefully. It is important to know where the pump should be positioned in the cooling system. If not using a self-priming pump, ensure that the pump’s location is lower than the water level in the container, as the pump may cavitate. For each side of the equipment, including the chiller unit, pump, and water tank, periodic checks and maintenance are necessary. You can use a water pressure gauge to monitor pressure values and determine if there are any blockages or leaks in your water system.
6. Vibration prevention measures.
For larger cooling projects, it is highly recommended to use flexible connectors on each side of the equipment with motors. Flexible connectors can help avoid issues such as water pipe leaks and noise.